Equipment
- EASY Silicone (from EASY RESIN)
- Digital scale
- Popsicle sticks
- Gloves
- Diamond prototype (you can choose your own prototype.)
- Silicone Mold (for inserting the prototype and EASY Silicone)
- Plastic glass or container for mixing EASY Silicone
Now, let’s get started on making your own silicone mold!
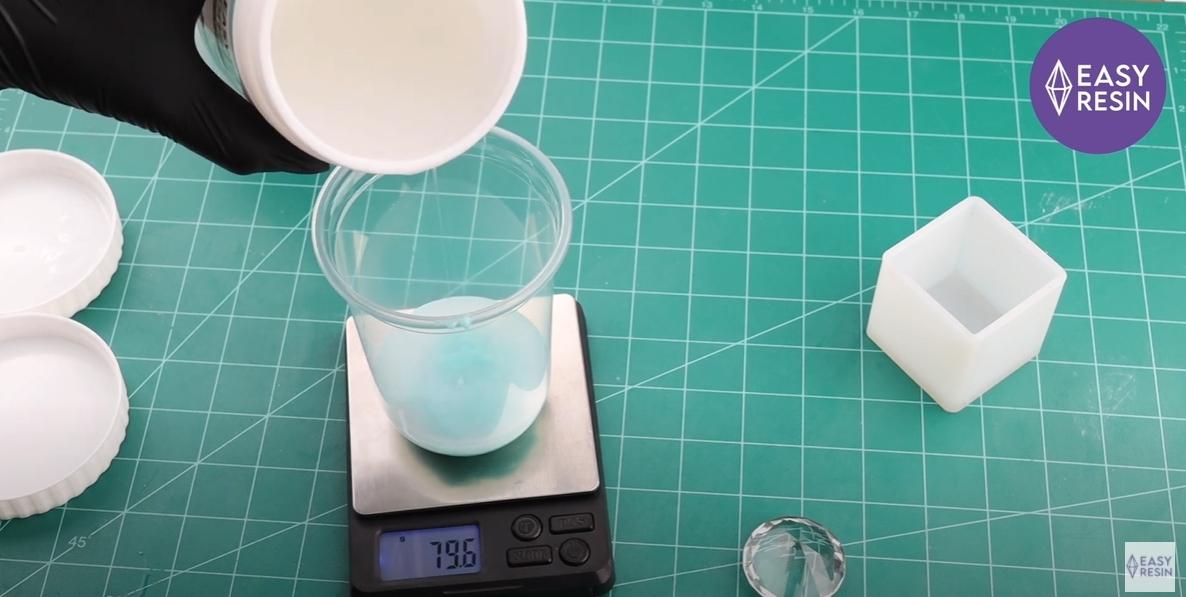
- We will need 80 grams of EASY Silicone in total.
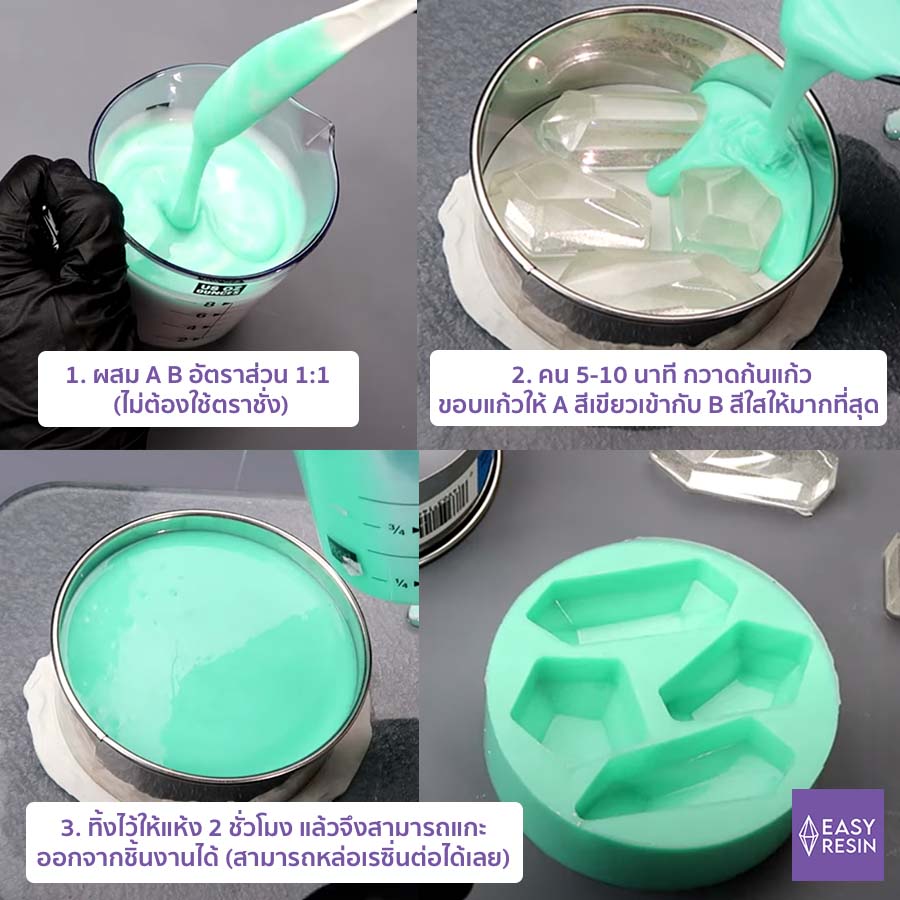
The ratio for EASY Silicone is 1 : 1.
So you will get 40 grams of Part A and 40 grams of Part B. The color of Part A is blue-green and Part B is white. After putting them together, we will now stir them for about 5 – 10 minutes and notice once the white blends with the blue-green, we will pour it into the prepared silicone mold.
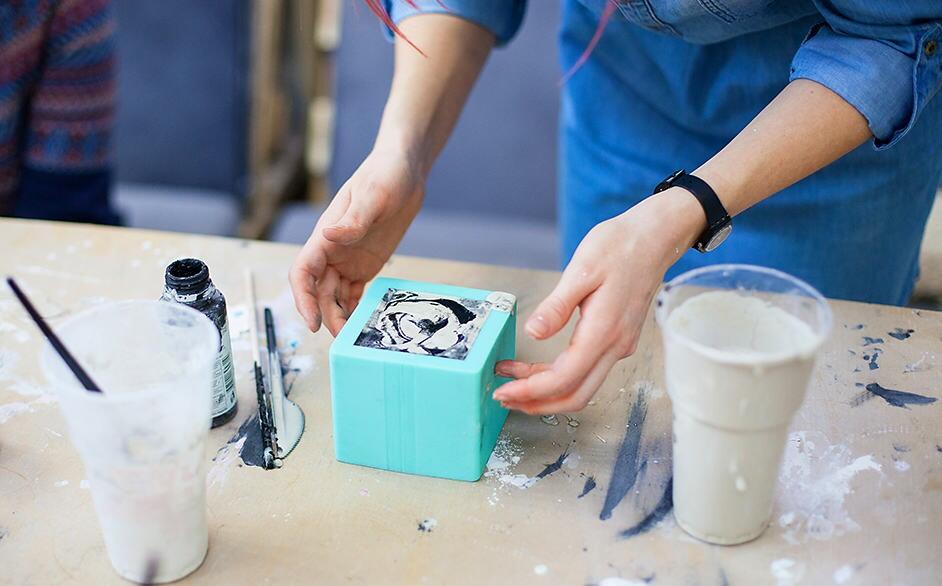
- Once the ingredients are well combined. You have 30 minutes to work before EASY Silicone starts to harden. After that, you can place the prepared prototype in the silicone mold, then pour EASY Silicone all over the prototype.
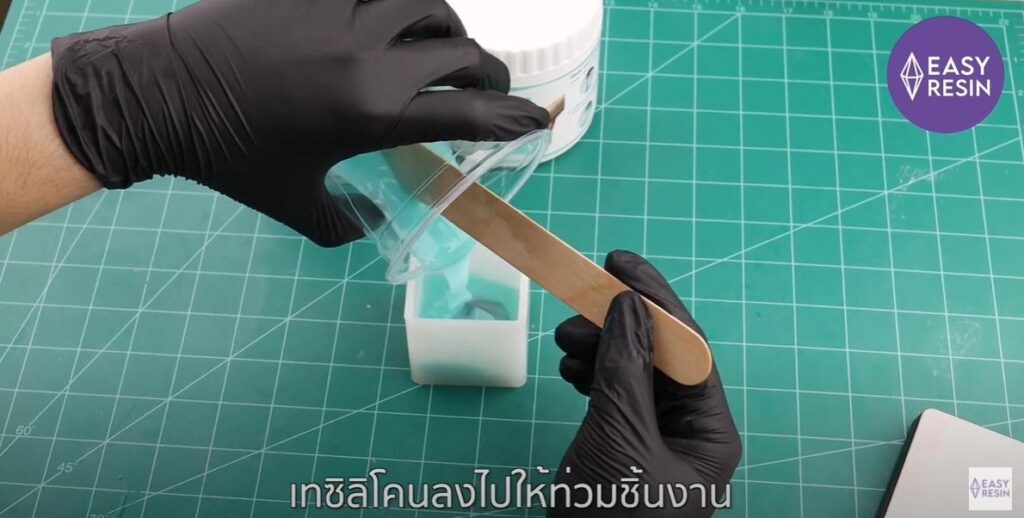
EASY Silicone should be poured over the prototype at least 0.5 centimeters of thickness because if it is too thin, it can break easily when we use it.
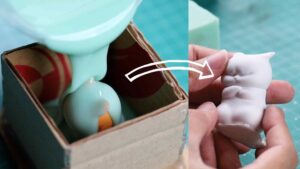
- Leave it for 3 – 4 hours for EASY Silicone to dry completely. Once it has hardened, you can remove it by gently tearing from the outer to the inner edge and push the prototype out of the mold.
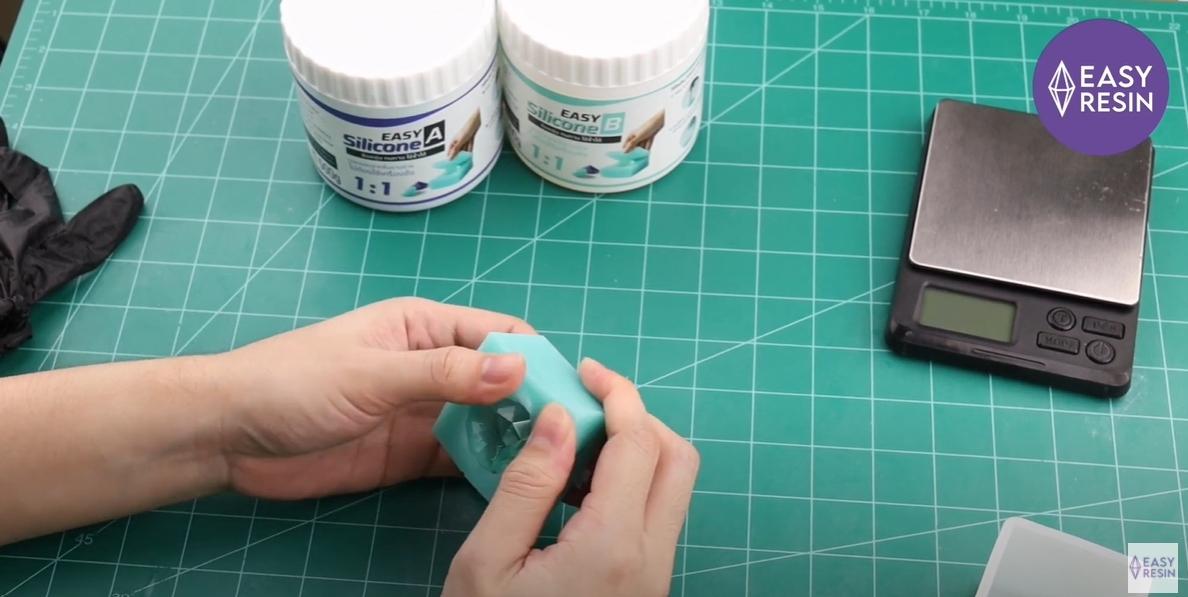
As simple as that, you will now get a unique silicone mold, and it can be reused many times as well.
Now, it is ready to be cast with resin immediately after hardening!
Check our How-to videos >>